Under 10 minutes from zero to asking your notes questions
This walkthrough takes you from nothing to your own running instance of Brilliant, with your Obsidian vault imported and answering questions. We'll focus on two install paths — local and Render — plus one vault upload and one short demo. Pick the path that matches where you want it to live, and if you only watch one section, watch the one at the end.
Ways to get set up
Brilliant's installer is a single script that pulls the repository and stands up every service it needs. The only thing that changes between pathways is where you run it. Two cover most people — local for trying it yourself, Render for getting a team on a shared instance. A third pathway (VPS) is there for people who already run their own infrastructure.
A — Local
Run it on your laptop. No DNS, no TLS, no network config. Best for kicking the tires in a single session. Heads up: a local instance is for exploration, not for pouring in the notes you plan to keep — if you want a persistent home for your vault, use Render.
curl -fsSL https://raw.githubusercontent.com/thejeremyhodge/xireactor-brilliant/main/install.sh | bashB — Render
Deploy to RenderOne click on a Render Blueprint. The render.yaml provisions web + worker + Postgres; the deploy adapter wires the external URL into OAuth; the setup wizard takes you from there. This is the path for giving a team a shared instance they can reach from anywhere.
Render Dashboard
  → New > Blueprint
  → Connect xireactor-brilliant
C — VPS (not covered here)
A headless VPS install (DigitalOcean droplet or similar) is supported — it's what I run — but it's more customization than this walkthrough can cover. If you're already comfortable running your own Linux box, the installer is the same script; grab the source and go.
Where should Brilliant live?
All three paths run the same software — what changes is where it lives. That's the decision behind "why do I need a separate server?" and it's really a question about who can reach your notes, and from what devices.
flowchart LR
    LAPTOP["💻 Your laptop
(local)"]
    CLOUD["☁️ The cloud
(hosted)"]
    LAPTOP ~~~ CLOUD
    style LAPTOP fill:#181b24,stroke:#6bdfb8,color:#e2e4ea,stroke-width:2px
    style CLOUD fill:#181b24,stroke:#6c8aff,color:#e2e4ea,stroke-width:2px
flowchart LR
subgraph laptop["💻 Your laptop"]
KB["💎 Brilliant
knowledge base"]
end
YOU["🧑💻 You, at the laptop"] --> KB
PHONE["📱 Your phone"] -.->|can't reach*| KB
MATE["👥 A teammate"] -.->|can't reach*| KB
style laptop fill:#181b24,stroke:#6bdfb8,color:#e2e4ea
style KB fill:#242836,stroke:#6bdfb8,color:#e2e4ea
style YOU fill:#242836,stroke:#6c8aff,color:#e2e4ea
style PHONE fill:#242836,stroke:#9ba1b0,color:#e2e4ea
style MATE fill:#242836,stroke:#9ba1b0,color:#e2e4ea
With a local install (option A), the database lives in a folder on your laptop, and Brilliant only listens on that machine's own network address. The browser tab on that same laptop can reach it; nothing else can. Close the lid and it's offline. That's perfect for kicking the tires — and limiting the moment you want to open your notes from your phone, or share them with anyone else.
* There are tunneling tools (Tailscale, ngrok, an SSH reverse tunnel, and similar) that can expose a local machine to your phone or to other people. They work — but they're a meaningfully more advanced setup than hosting, with their own networking and security decisions attached. If "reachable from anywhere" is the goal, hosting is the shorter path.
flowchart LR
    subgraph render["☁️ Render (or a VPS)"]
        KB["💎 Brilliant
knowledge base"]
    end
    YOU1["💻 You: laptop"] --> KB
    YOU2["📱 You: phone"] --> KB
    MATE["👥 Teammate"] --> KB
    style render fill:#181b24,stroke:#6bdfb8,color:#e2e4ea
    style KB fill:#242836,stroke:#6bdfb8,color:#e2e4ea
    style YOU1 fill:#242836,stroke:#6c8aff,color:#e2e4ea
    style YOU2 fill:#242836,stroke:#6c8aff,color:#e2e4ea
    style MATE fill:#242836,stroke:#6c8aff,color:#e2e4ea
With a hosted install (option B on Render, or option C on a VPS you run), the app and its database run on a server you don't have to think about. It has its own URL, it's up whether your laptop is or isn't, and every device you sign in from reaches the same notes. Anyone you invite can too. That's the plain answer to "why do I need a separate server?" — because the notes stop being tied to a single computer.
Start fresh or import your Obsidian vault
During setup you get a choice: start with a blank knowledge base and grow it as you work, or pour an existing Obsidian vault in as your starting corpus. Both paths land you in the same place — a searchable, linkable knowledge base ready for Claude to work with.
flowchart LR
    FOLDER["📁 Your Obsidian vault
(.md files, zipped)"] -->|upload at setup| BRILLIANT["💎 Brilliant
knowledge base"]
    style FOLDER fill:#242836,stroke:#f0a77b,color:#e2e4ea
    style BRILLIANT fill:#181b24,stroke:#6bdfb8,color:#e2e4ea
If you're importing, zip the folder your .md files live in and drag the .zip into the upload widget. Brilliant unpacks it, parses frontmatter, extracts wiki-links, and indexes each note as a tagged, triangulation-ready entry. Attachments come along for the ride. A few hundred notes takes well under a minute.
If you don't have an Obsidian vault, any folder of markdown files with YAML frontmatter works the same way. And if you have no notes at all yet, that's fine too — start blank, add entries as you go, and watch the graph grow.
Plug your notes into Claude with MCP
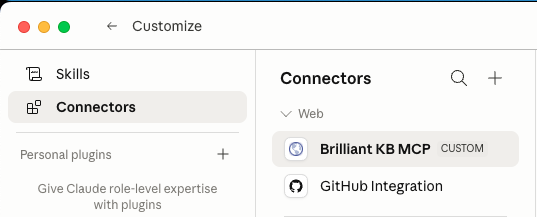
Brilliant ships an MCP (Model Context Protocol) server, so any MCP-capable client — Claude Desktop, Claude Code, Cursor, and a growing list of others — can read and write your knowledge base directly. Your assistant can search your notes, open entries, create new ones, and follow the typed links between them without ever leaving the conversation.
In Brilliant's settings, copy the MCP connection details and paste them into your client's MCP config. On the next session your assistant will have your vault wired up as a tool it can actually use — not a document dump it has to reason about from scratch every time.
Download the Brilliant Skill for Claude
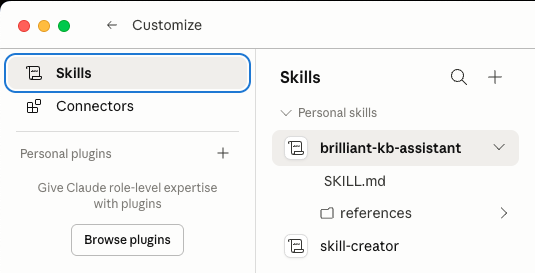
A Claude Skill is a small bundle that teaches an assistant how to use a set of tools well — when to call them, how to chain them, and what to do with the results. The Brilliant Skill wraps the MCP tools above with the prompts that get Claude to treat your notes like a real working knowledge base: searching before guessing, linking related entries as it goes, and showing its work.
Drop the zip into Claude Desktop or Claude Code's skills folder, restart, and you're done.
Download Brilliant Skill (.zip)
Begin working with your Brilliant knowledge base
With CoWork open, start asking. The strongest results come from questions that cut across your notes rather than look inside any single one. Three prompts to try first:
- "How many projects do I have open right now?"
- "What's the current status of each project — and what's the next task in each one?"
- "Based on everything you know about the other projects, which one is the highest priority right now?"
Those three compose the demo: a count, a per-item status, and a cross-project judgment call. If the answers look like they came from someone who's actually read your notes, you're in the right neighborhood.
Bonus: see your knowledge base in 3D
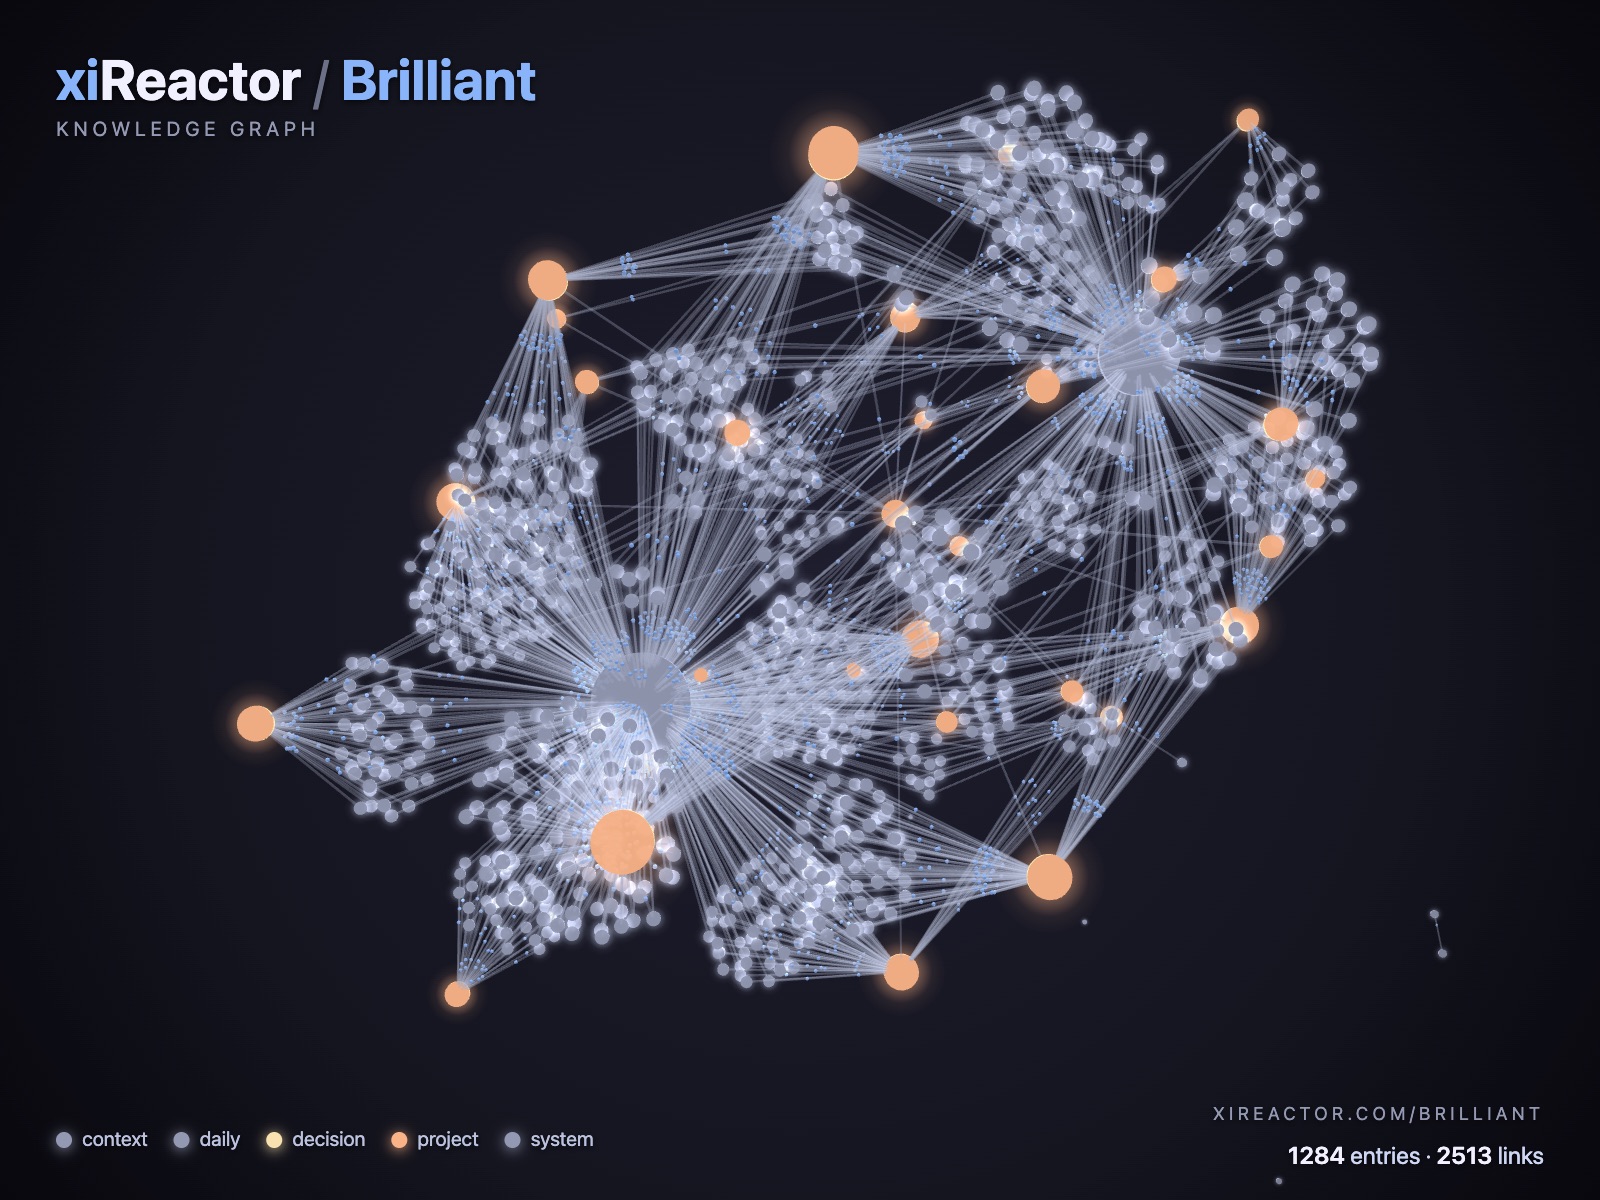
Brilliant's import/export screen includes a 3D knowledge-base view. Your entries are nodes, the typed links between them are edges, and the whole graph rotates in the browser. Every vault has a different shape — clusters where you've been living, sparse regions you haven't built up yet, bridges between topics you didn't realize were connected.
It's also where you grab a snapshot of yours: while you're importing a vault or exporting your knowledge base, the 3D view is up — that's the moment to save an image. Share it however you like; I'd love to see what your graph looks like.